Medien-Präsentationsmodus verwenden
Die Medien-Präsentations- und Controller-Modi sind für Einfachheit und Vermeidung von Fehlern bei Meetings konzipiert.
Sobald die Option Medien auf einem externen Monitor oder in einem separaten Fenster aktiviert ist, der Bildschirm für Mediendarstellung wird automatisch auf dem externen Monitor angezeigt, falls vorhanden oder in einem separaten, ziehbaren und skalierbaren Fenster, wenn kein externer Monitor erkannt wurde.
Im Standby-Modus zeigt der Medien-Präsentationsbildschirm das in den Einstellungen konfigurierte Hintergrundbild an. Wenn kein Hintergrundbild konfiguriert wurde, wird M3 versuchen, den Jahrestext automatisch zu laden und anzuzeigen.
Wenn kein Hintergrundbild in den Einstellungen konfiguriert ist und der Jahrtext nicht automatisch geladen werden konnte, ein schwarzer Hintergrund wird im Standby angezeigt.
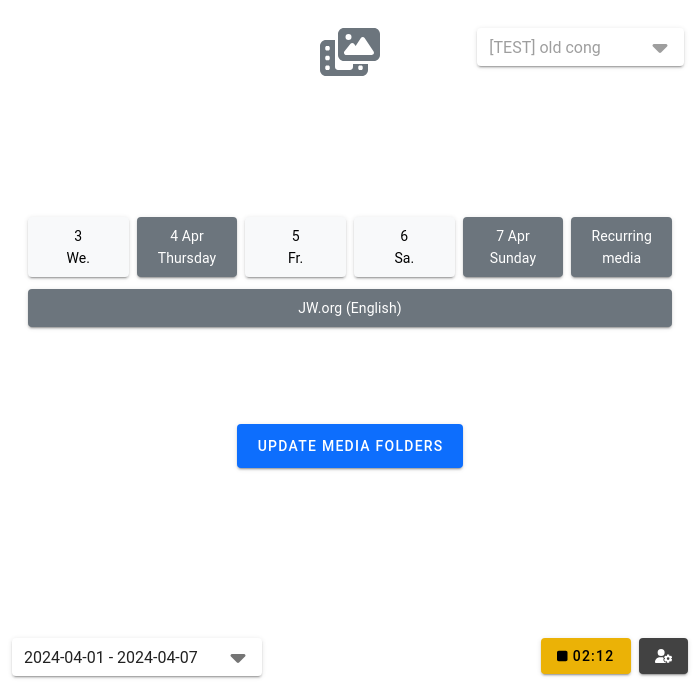
Media Kontroller Modus kann durch Klicken auf den ▶️ (Wiedergabe) Button auf dem Hauptbildschirm von M3 erreicht werden oder über das Tastaturkürzel Alt D (für die externe Anzeige).
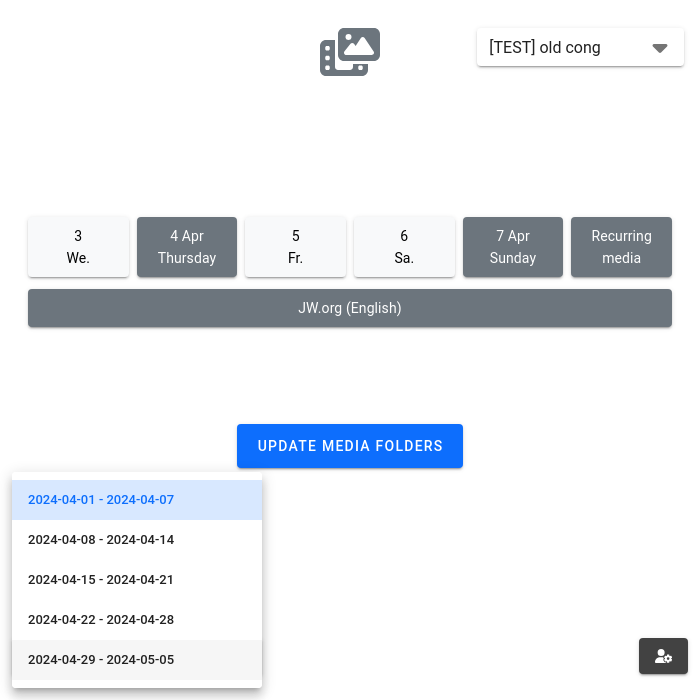
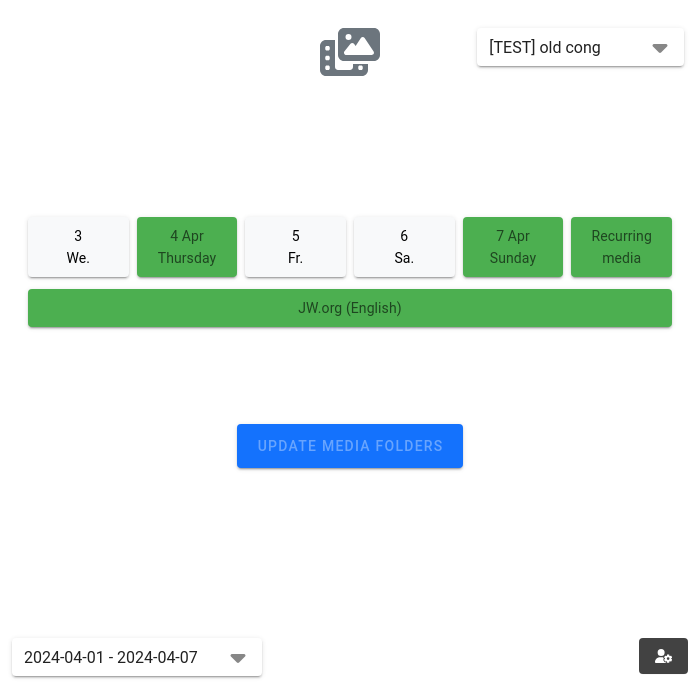
Sobald Sie den Kontrollermodus eingegeben haben, können Sie auf dem Ordnerauswahlbildschirm das Datum festlegen, für das Sie die Medien anzeigen möchten. Wenn der aktuelle Ordner des Tages existiert, wird er automatisch vorgewählt. Sobald ein Datum ausgewählt ist, Sie können das ausgewählte Datum jederzeit noch ändern, indem Sie auf den Knopf “Datumsauswahl” im oberen Bereich klicken.
Medien präsentieren
Um Medien abzuspielen, drücken Sie den ▶️ (Wiedergabe) Button für die gewünschte Datei. Um die Medien auszublenden, drücken Sie die ⏹️ (stop) Taste. Ein Video kann auf Wunsch beim Pausieren nachgewickelt oder schnell weitergeleitet werden. Bitte beachten Sie, dass für Videos, die Stop-Taste muss zweimal gedrückt werden, um zu verhindern, dass ein Video versehentlich angehalten wird, während es für die Gemeinde abgespielt wird. Videos werden automatisch gestoppt, wenn sie in ihrer Gesamtheit gespielt haben.
Zusätzliche Funktionen
M3 verfügt über ein paar zusätzliche Funktionen, die zur Verbesserung des Media-Präsentationserlebnisses genutzt werden können.
JW.org präsentieren
Um JW.org zu präsentieren, können Sie die Taste (Ellipse) oben auf dem Bildschirm drücken und `JW.org öffnen` wählen. Dies öffnet ein neues Controller-Fenster, bei dem JW.org geladen wird. Das Medienfenster zeigt auch JW.org an. Nun können Sie das Kontrollerfenster verwenden, um JW.org zu navigieren, und das Medienfenster zeigt Ihre Aktionen an. Wenn Sie JW.org präsentieren können Sie das Controller-Fenster schließen und mit dem normalen Media-Präsentationsmodus fortfahren.
Zoomen und Pan Bilder
Wenn ein Bild angezeigt wird, können Sie mit dem Mausrad scrollen, während Sie mit dem Mausrad über die Bildvorschau schweben, um hereinzuzoomen und zu verkleinern. Alternativ können Sie auch auf die Bildvorschau doppelklicken, um sie zu vergrößern. Doppelklick wechselt zwischen 1,5x, 2x, 3x, 4x und zurück zu 1x Zoom. Sie können das Bild auch halten und verschieben um das Bild herum zu bewegen.
Medienliste sortieren
Die Medienliste kann durch Anklicken der Sortiertaste oben rechts auf dem Bildschirm sortiert werden. Die Medienelemente werden einen neben ihnen erscheinenden Button haben, der verwendet werden kann, um das Medienelement in der Liste nach oben oder unten zu ziehen. Wenn Sie mit der Bestellung zufrieden sind, können Sie die Sortiertaste erneut anklicken, um die Bestellung zu sperren.
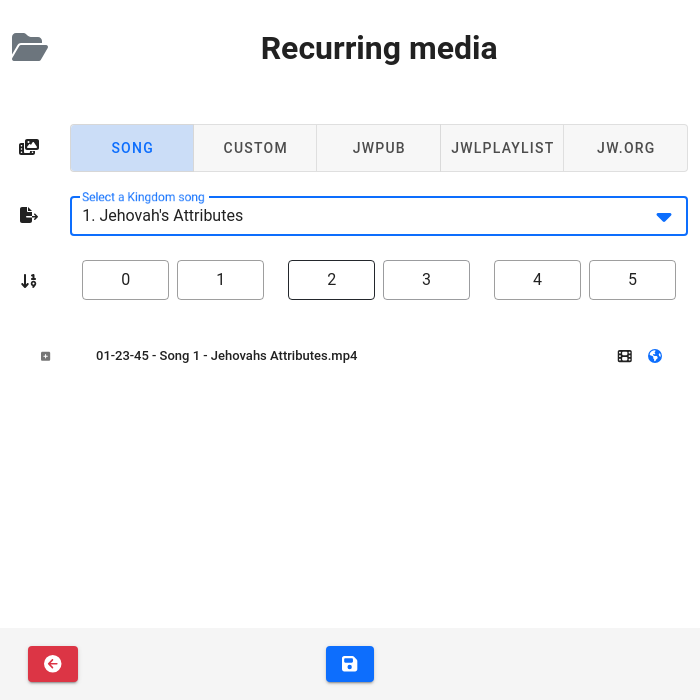
Last Minute Lied hinzufügen
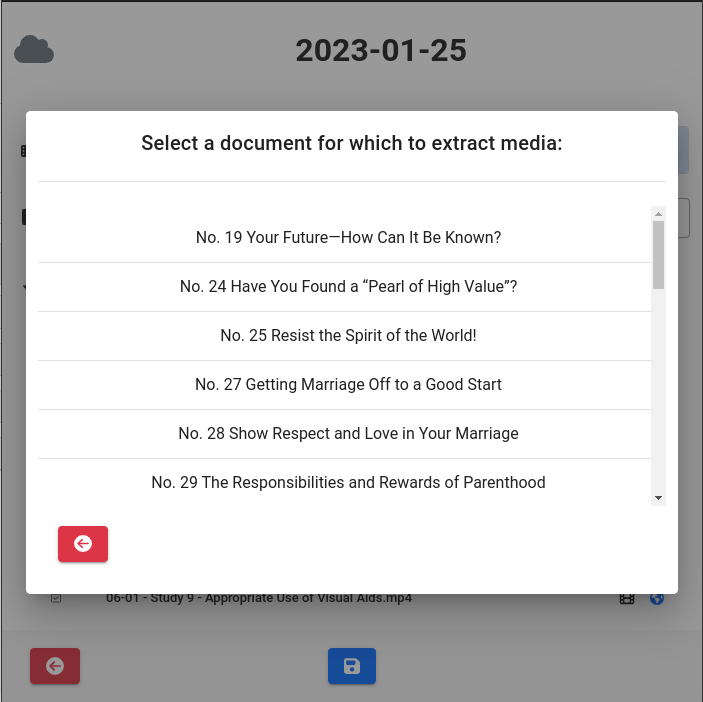
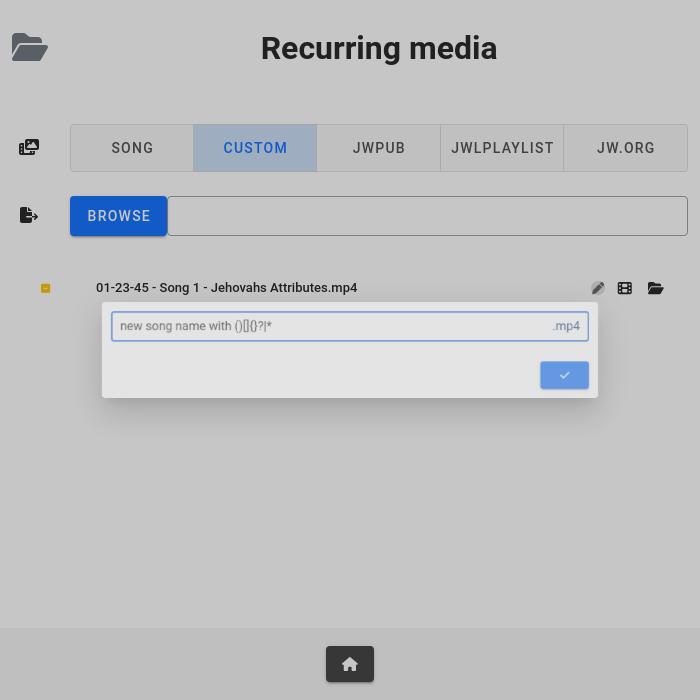
Wenn Sie ein Lied in letzter Minute zur Medienliste hinzufügen müssen drücken Sie die <unk> + (Lied hinzufügen) Taste oben auf dem Bildschirm. Ein Dropdown-Menü wird mit einer Liste aller Königreich-Songs erscheinen. Wenn Sie eine auswählen, wird sie sofort an die Spitze der Medienliste gesetzt und kann sofort abgespielt werden. Es wird entweder den Song von JW.org streamen, oder den Song aus dem lokalen Cache abspielen, falls er zuvor heruntergeladen wurde.
Durchführung von Hybrid-Meetings mit einer Kombination aus M3, OBS Studio und Zoom
Die einfachste Möglichkeit, während Hybrid-Meetings Medien auszutauschen, ist die Konfiguration von OBS Studio, M3 und Zoom für die Zusammenarbeit.
Initiale Konfiguration: Kingdom Hall Computer
Setzen Sie die Bildschirmauflösung des externen Bildschirms auf 1280x720, oder etwas ähnliches.
Konfigurieren Sie den Ausgang der Computer-Soundkarte, um zu einem der Eingänge des Sound-Stand-Mixers zu gelangen, und die kombinierte Ausgabe des Sound-Stand-Mixers zur Soundkarteneingabe des Rechners.
Anfangskonfiguration: OBS Studio
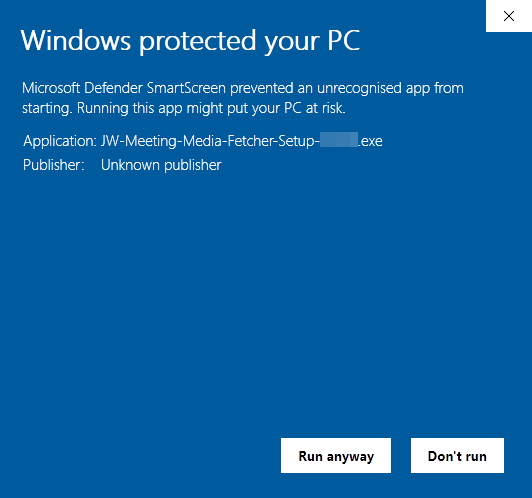
Installieren Sie OBS Studio oder laden Sie die portable Version herunter.
Wenn Sie die portable Version von OBS Studio verwenden, installieren Sie das Virtualcam Plugin, und wenn Sie die portable Version von OBS Studio verwenden, fügen Sie die virtuelle Kamera zu Windows durch einen Doppelklick auf das angegebene Installationsskript hinzu.
Wenn Sie OBS Studio v27 oder älter haben, müssen Sie das obs-websocket Plugin installieren. Andernfalls ist obs-websocket enthalten. Konfigurieren Sie eine Portnummer und ein Passwort für obs-websocket.
Aktivieren Sie in den OBS-Einstellungen unter General > System Trayalle Kontrollkästchen. Unter Ausgabe > Streamingaktivieren Sie einen Hardwarekodierer, falls verfügbar. Unter Video > Basis (Canvas) Auflösung und Ausgabe (kalkuliert) Auflösung, wählen Sie 1280x720, und unter Downscale Filter, wählen Sie Bilinear.
Legen Sie mindestens 2 Szenen ein: eine für die Medienanzeige (Fensteraufnahme oder Aufnahme anzeigen mit dem Mauszeiger deaktiviert und der entsprechende Fenstertitel/Monitor ausgewählt), und eine für die Bühnenansicht (Video Capture Device bei ausgewählter KH-Kamera). Du kannst auch eine weitere Szene speziell für Bilder hinzufügen, bei der das Medienfenster zusammen mit der Bühne in einer Bild-in-Bild-Anzeige sichtbar ist. Sie können beliebig viele Szenen hinzufügen, wobei die Kamera angepasst ist, zoomt und nach Bedarf zugeschnitten (Redneransicht, Leiter- und Leseransicht, Tabellenansicht, etc.).
Aktivieren Sie den Skalierung/Seitenverhältnis Filter für alle Fensteraufnahme oder Anzeige Aufnahme Eingänge, mit einer Auflösung von Basis-Auflösung. Dadurch wird sichergestellt, dass das Medienfenster immer auf die Auflösung der virtuellen Kamera skaliert wird.
Fügen Sie eine Verknüpfung zu OBS Studio mit dem --startvirtualcam Parameter hinzu in den Startup-Ordner des Windows Benutzerprofils eingeben, um sicherzustellen, dass OBS Studio automatisch gestartet wird, wenn sich der Benutzer anmeldet.
Anfangskonfiguration: Königreich Halle Zoom
Zoom sollte so konfiguriert werden, dass Dual-Monitore verwendet werden. Globale Tastaturkürzel für Zoom aktivieren, um die Königreichshalle im Zoom zu stummschalten (Alt A), und starten/stoppen den Königreichshalle-Videofeed im Zoom (Alt V).
Legen Sie das Standard-“Mikrofon” als kombinierte Ausgabe des Sound-Stand-Mixers fest (so dass alles, was über das Königreich Hall hörbar ist, über Zoom, übertragen wird B. Mikrofone und Medien) und die “Kamera” die von OBS Studio zur Verfügung gestellte virtuelle Kamera.
Initiale Konfiguration: M3
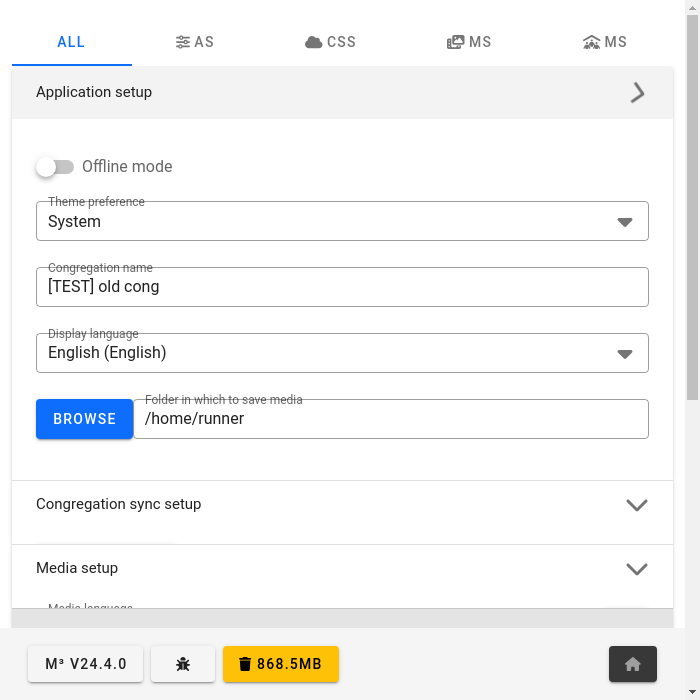
Aktivieren Sie die Present Medien auf einem externen Monitor oder in einem separaten Fenster Option.
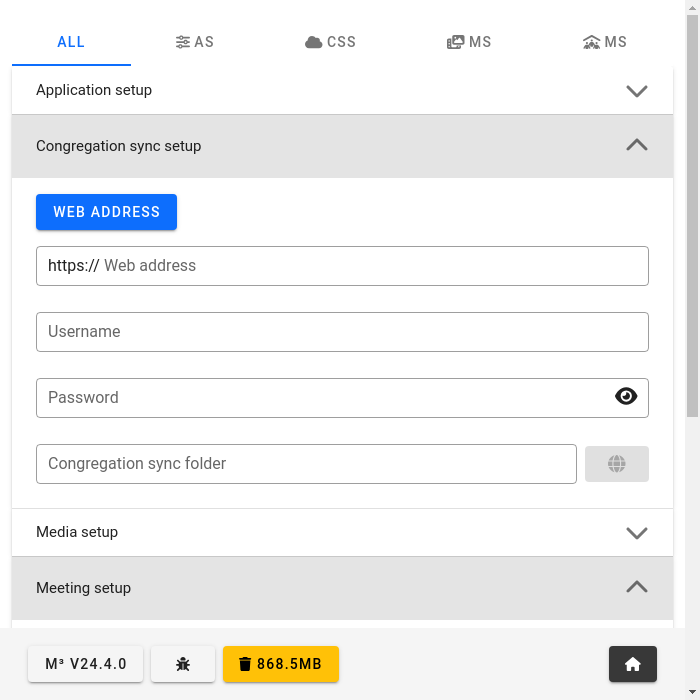
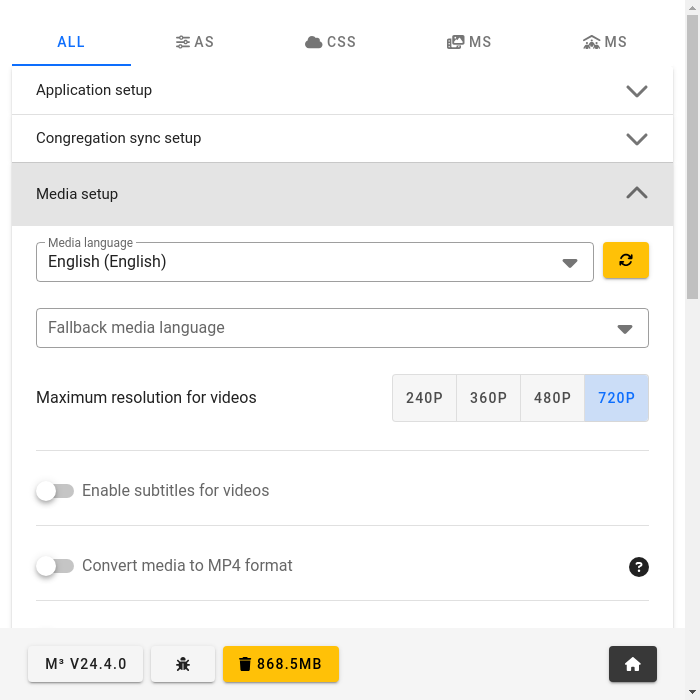
Aktivieren und konfigurieren Sie den OBS Studio Kompatibilitätsmodus, indem Sie die im OBS Studio Konfigurationsschritt konfigurierten Port- und Passwortinformationen verwenden.
Meeting starten
Starten Sie das Zoom Meeting und verschieben Sie das sekundäre Zoom Meeting-Fenster auf den externen Monitor. Machen Sie es Vollbild, wenn gewünscht. Hier werden alle Teilnehmer von entfernten Meetings angezeigt, um die Gemeinde zu sehen.
Sobald das Zoom-Meeting auf dem externen Monitor angezeigt wird, öffnen Sie M3. Das Medienpräsentationsfenster öffnet sich auf dem externen Monitor automatisch oberhalb des Zooms. Synchronisieren Sie Medien, wenn nötig, und gehen Sie in den Media Controller Modus, indem Sie auf den ▶️ (Wiedergabe) Button auf dem Hauptbildschirm von M3 klicken oder Alt D.
Aktiviere den Kingdom Hall Video Feed (Alt V), und beleuchten Sie den Kingdom Hall Videofeed falls erforderlich, so dass Zoom-Teilnehmer die Königreich Hall Bühne sehen. Schalte den Audiofutter der Kingdom Hall im Zoom frei (Alt A). Es sollte nicht notwendig sein, den Video- oder Audiofeed im Zoom für die Dauer des Meetings zu deaktivieren. Stelle sicher, dass “Originalton für Musiker” in Zoom aktiviert ist, um die beste Audioqualität für Zoom-Teilnehmer zu gewährleisten.
Starten Sie die Hintergrundmusik mit dem Button unten links, oder Alt K.
Übertrage Einzelteile von der Königreichshalle-Bühne über Zoom
Keine Aktion notwendig.
Verschiedene Kamera-Winkel/Zoom können während des Meetings über das Menü am unteren Rand des M3-Medien-Wiedergabe-Kontrollfensters ausgewählt werden; Dieses Menü enthält eine Liste aller konfigurierten Kamera-Ansichtsszenen in OBS.
Medien in der Königreichshalle und über Zoom teilen
Finden Sie die Medien, die Sie im Fenster zur Wiedergabe von M3 teilen möchten, und drücken Sie die Schaltfläche “Wiedergabe”.
Wenn Sie das Teilen von Medien erledigt sind, drücken Sie den “Stop” Knopf in M3. Beachten Sie, dass Videos automatisch nach Fertigstellung anhalten.
Zeige entfernte Zoom-Teilnehmer auf dem Königreich Hall Monitor
Drücken Sie die Schaltfläche “Medienpräsentationsfenster ausblenden/anzeigen/ausblenden” in der unteren rechten Ecke des M3-Mediencontroller-Bildschirms, oder Alt Z, verstecken das Medien-Präsentationsfenster. Das Zoom-Meeting wird nun auf dem Königreichshallen-Monitor sichtbar.
Wenn der Teilnehmer Medien zeigen muss, folgen Sie den Schritten unter der Freigabe der Medien in der Königreichshalle und über die Zoom Unterüberschrift.
Sobald der Teilnehmer sein Teil beendet hat drücken Sie die Schaltfläche “Medienpräsentationsfenster ausblenden/anzeigen” in der unteren rechten Ecke des M3 Media Playback Kontrollfensters, oder Alt Z, das Medienpräsentationsfenster anzeigen. Der Kingdom Hall Monitor wird nun den Jahrestext anzeigen.
Durchführung von Hybrid-Meetings mit nur M3 und Zoom
Wenn Sie OBS Studio aus irgendeinem Grund nicht verwenden möchten die folgenden Vorschläge helfen Ihnen vielleicht, die Dinge so einfach wie möglich zu gestalten.
Initiale Konfiguration ohne OBS: Königreich Hall Computer
Gleiche wie oben zutreffender Abschnitt. Mit dem Hinzufügen des globalen Tastaturkürzels zum Starten oder Stoppen der Bildschirmfreigabe (Alt S). Die “Kamera” wird der Kamerafeed von der Kingdom Hall Kamera sein.
Erste Konfiguration ohne OBS: M3
Aktivieren Sie die Present Medien auf einem externen Monitor oder in einem separaten Fenster Option.
Das Meeting ohne OBS starten
Gleiche wie oben zutreffender Abschnitt.
Übertrage Einzelteile von der Königreichshalle-Bühne über Zoom ohne OBS
Gleiche wie oben zutreffender Abschnitt.
Medien in der Königreichshalle teilen und über Zoom ohne OBS
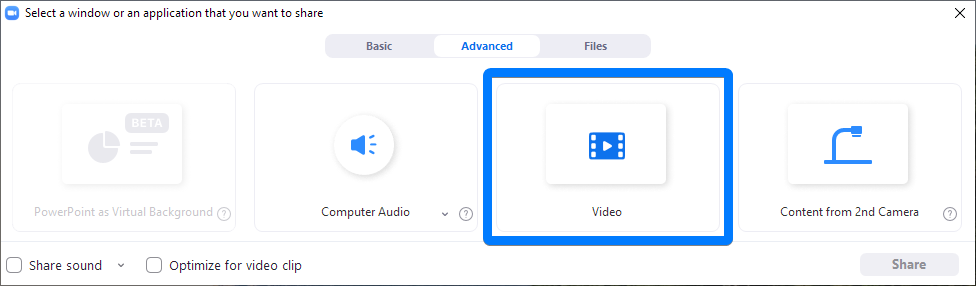
Beginnen Sie die Zoom zu teilen, indem Sie Alt S drücken. Wählen Sie im Fenster Zoom Sharing, das erscheint, den externen Monitor und aktivieren Sie beide Kontrollkästchen unten links (für Ton- und Videooptimierung). Der Jahrestext wird nun über Zoom geteilt.
Finden Sie die Medien, die Sie im Fenster zur Wiedergabe von M3 teilen möchten, und drücken Sie die Schaltfläche “Wiedergabe”.
Wenn Sie die Medien freigeben, drücken Sie Alt S um die Bildschirmfreigabe zu beenden.
Zeige entfernte Zoom-Teilnehmer auf dem Königreich Halle-Monitor ohne OBS
Gleiche wie oben zutreffender Abschnitt.
Screenshots des Präsentationsmodus
|
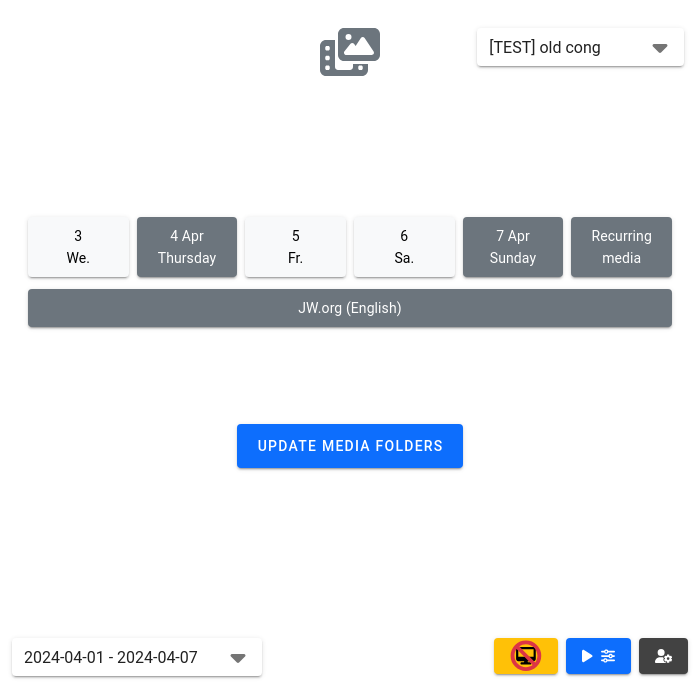
Blaue Wiedergabe-Schaltfläche, um in den Mediensteuerungsmodus zu gelangen
|
|
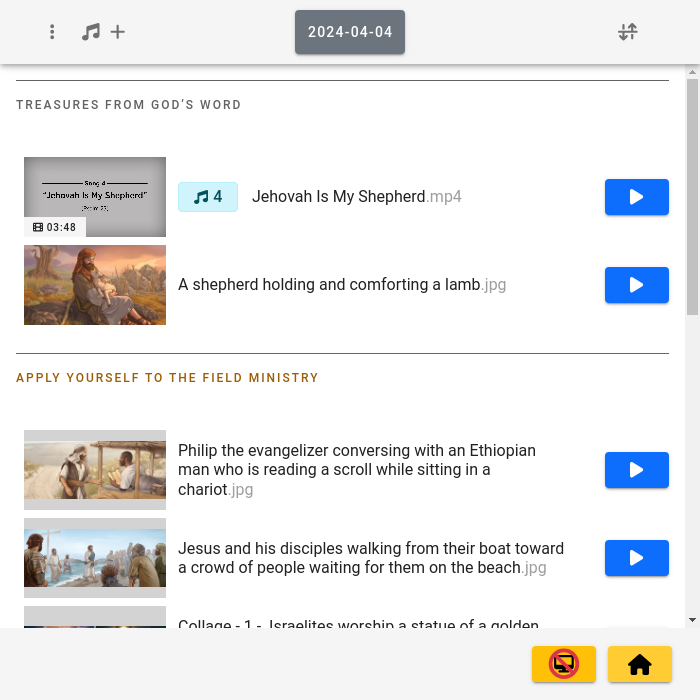
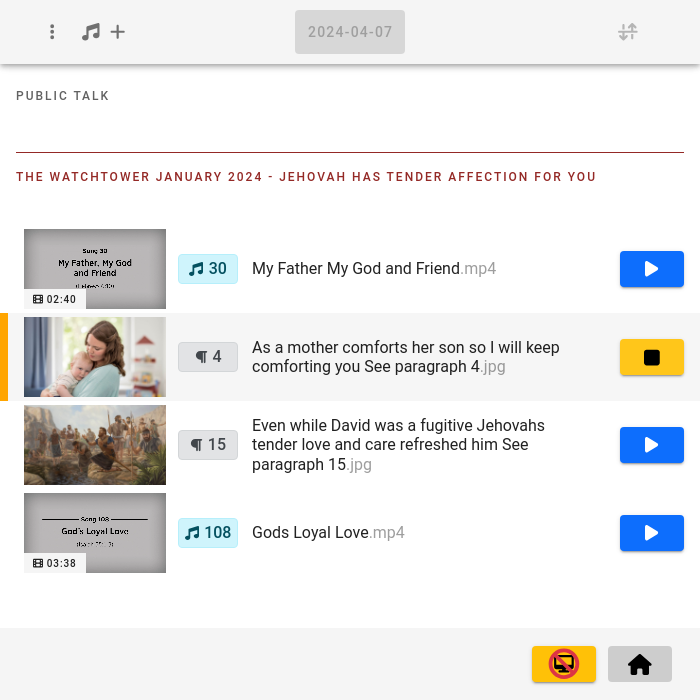
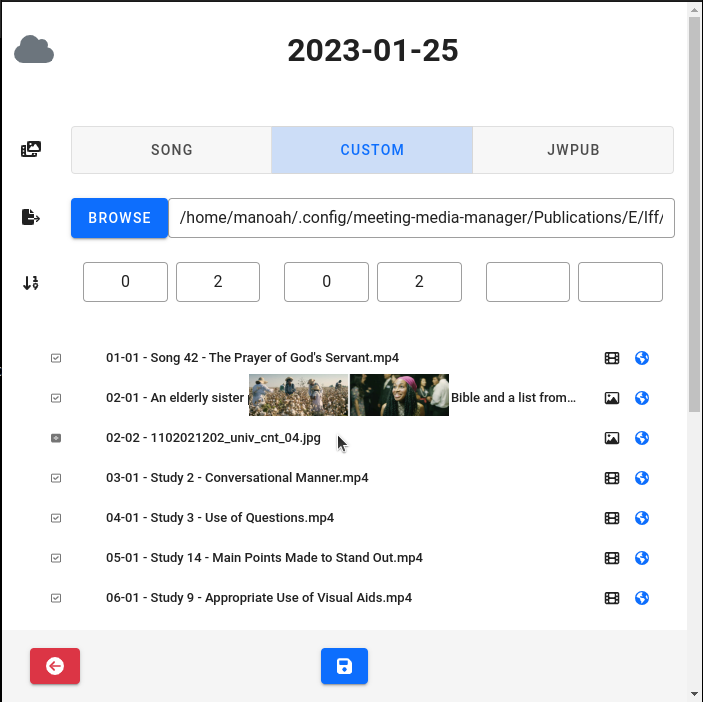
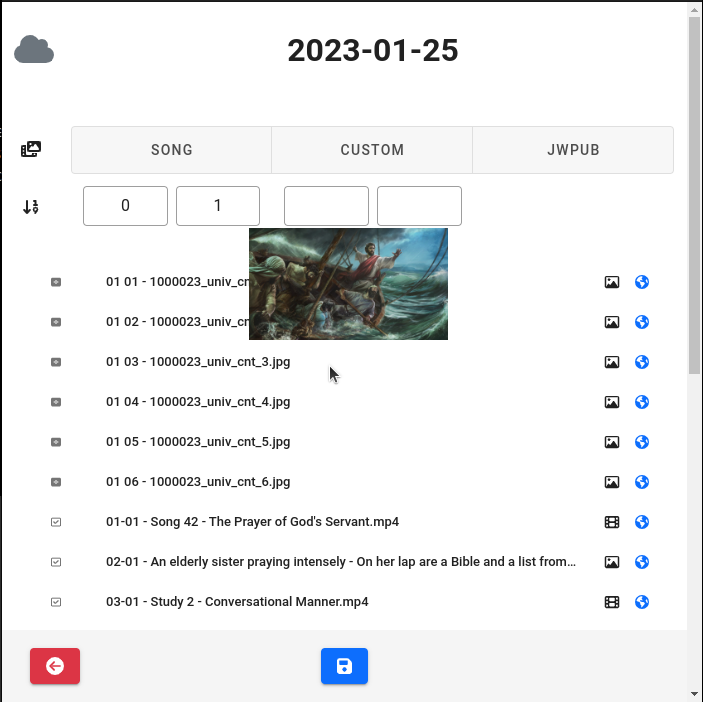
Liste der Medien, die gezeigt werden können
|
|
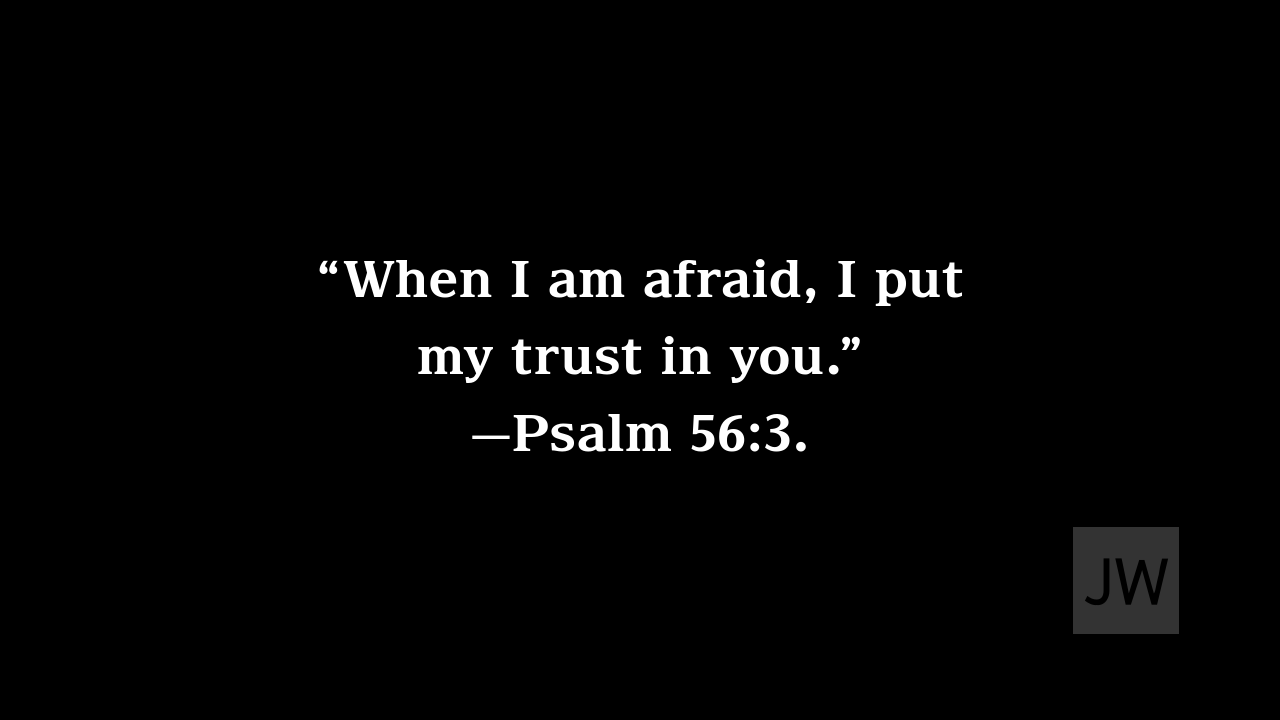
Standard-Hintergrundbild mit automatisch erstelltem Jahrestext
|
|
Ein Bild anzeigen
|
|
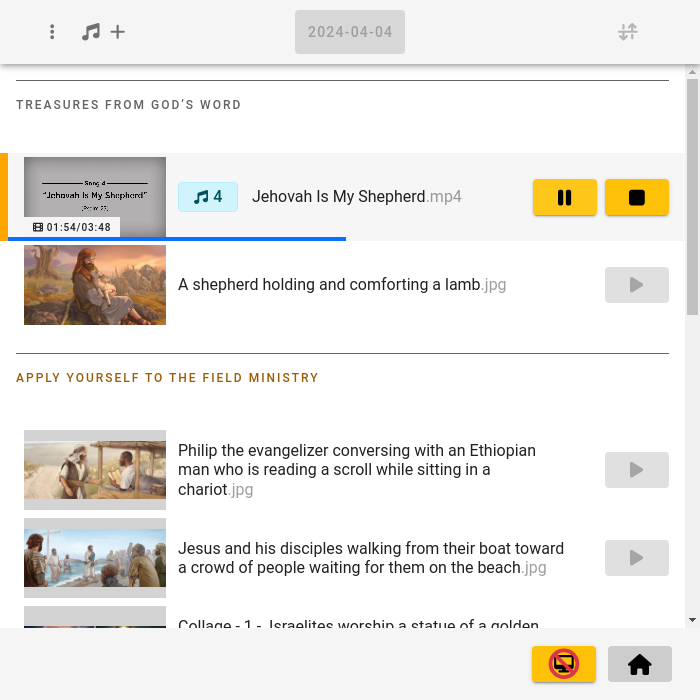
Ein Video abspielen
|
|
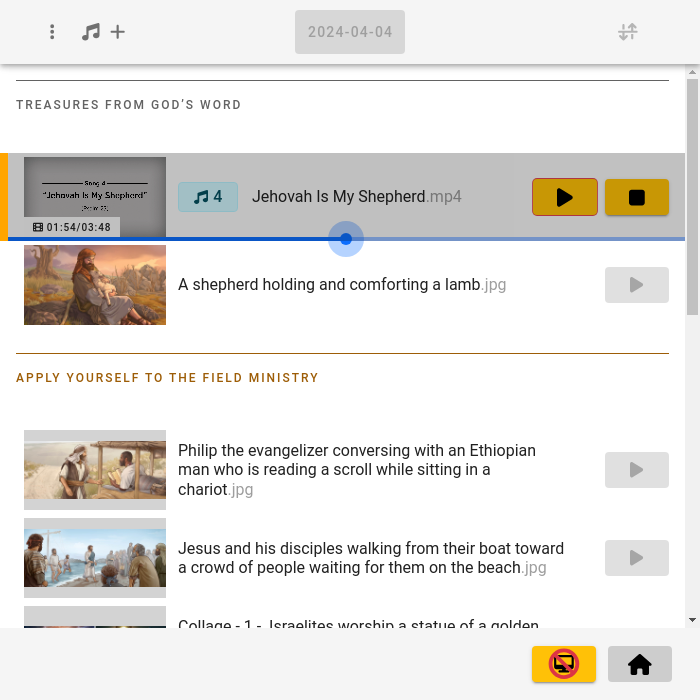
Zu einer bestimmten Stelle in einem Video springen
|

